

上篇已经成功实现了文章上传,但是可以看到文章内容是一个简单的文本框,没有具体的格式,无法上传图片,更无法上传代码段。作为屌丝程序员这可不能忍!本文介绍下如何使用CKEditor富文本编辑器上传带格式的文本以及图片代码段等。
1、安装django-ckeditor
root@jerryls-site1:/home/mysite# pip install django-ckeditor
2、全局settings.py添加APP
需要添加 'ckeditor', 'ckeditor_uploader' 两个APP。
# Application definition

INSTALLED_APPS = [
    'django.contrib.admin',
    'django.contrib.auth',
    'django.contrib.contenttypes',
    'django.contrib.sessions',
    'django.contrib.messages',
    'django.contrib.staticfiles',

    # for allauth
    'django.contrib.sites',
    'allauth',
    'allauth.account',
    'allauth.socialaccount',
    'allauth.socialaccount.providers.baidu',

    # for crispy
    'crispy_forms',

    # for blog
    'blog',

    # for myauth
    'myauth',

    # for image
    'imagekit',
    # for ckeditor
    'ckeditor',
    'ckeditor_uploader'
]
3、指定CKEditor文件上传保存路径
在全局settings下添加,这里我加到了MEDIA路径之后:
# 媒体文件
MEDIA_URL = '/media/'
MEDIA_ROOT = os.path.join(BASE_DIR, 'media')

CKEDITOR_UPLOAD_PATH = 'ckeditor_upload'
CHEDITOR_UPLOAD_PATH的作用是设定你通过ckeditor所上传的文件的存放目录。需要注意的是,这是一个相对路径,它相对与你设置的的MEDIA_ROOT。也就是文件会被上传到media/ckeditor_upload 路径下。
4、添加CKEditor全局路由
在全局urls.py文件中添加路由:
urlpatterns = [
    path('admin/', admin.site.urls),
    path('accounts/', include('allauth.urls')),
    path('accounts/', include('myauth.urls', namespace = 'myauth')),
    path('', include('blog.urls', namespace = 'blog')),
    path('ckeditor/', include('ckeditor_uploader.urls')),

] + static(settings.MEDIA_URL, document_root=settings.MEDIA_ROOT)  # 加入这个才能显示media文件
5、修改model属性字段
之前的文章内容是用的TextField,这里我们修改为 RichTextUploadingField
from ckeditor_uploader.fields import RichTextUploadingField

#body = models.TextField(verbose_name='内容', default='请输入文章内容....')
body = RichTextUploadingField(verbose_name='内容', default='请输入文章内容....')
6、同步数据库
修改完model属性字段后,最后一步就是同步数据库咯。
root@jerryls-site1:/home/mysite# ./manage.py makemigrations
root@jerryls-site1:/home/mysite# ./manage.py migrate
此时,运行服务器打开后台管理点击新增文章,可以发现文章内容的编辑框已经成了富文本编辑,但是貌似工具栏按钮不是很全?在项目的全局setting里添加配置:
# ckeditor
CKEDITOR_CONFIGS = {
    'default': {
        'skin': 'moono-lisa',
        'toolbar_Basic': [
            ['Source', '-', 'Bold', 'Italic']
        ],
        'toolbar_Full': [
            [ 'Source','-','Save','NewPage','DocProps','Preview','Print','-','Templates' ],
            [ 'Cut','Copy','Paste','PasteText','PasteFromWord','-','Undo','Redo' ],

            [ 'Find','Replace','-','SelectAll','-','SpellChecker', 'Scayt' ],
            [ 'Form', 'Checkbox', 'Radio', 'TextField', 'Textarea', 'Select', 'Button', 'ImageButton', 'HiddenField' ],
            '/',
            [ 'Bold','Italic','Underline','Strike','Subscript','Superscript','-','RemoveFormat' ],
            [ 'NumberedList','BulletedList','-','Outdent','Indent','-','Blockquote','CreateDiv', '-','JustifyLeft','JustifyCenter','JustifyRight','JustifyBlock','-','BidiLtr','BidiRtl' ],
            [ 'Link','Unlink','Anchor' ],
            [ 'Image','Flash','Table','HorizontalRule','Smiley','SpecialChar','PageBreak','Iframe' ],
            '/',
            [ 'Styles','Format','Font','FontSize' ] ,
            [ 'TextColor','BGColor' ] ,
            [ 'Maximize', 'ShowBlocks','-','About' ] ,

        ],
        'toolbar': 'Full',
    }
}
再次运行,可以看到非常全的工具栏!

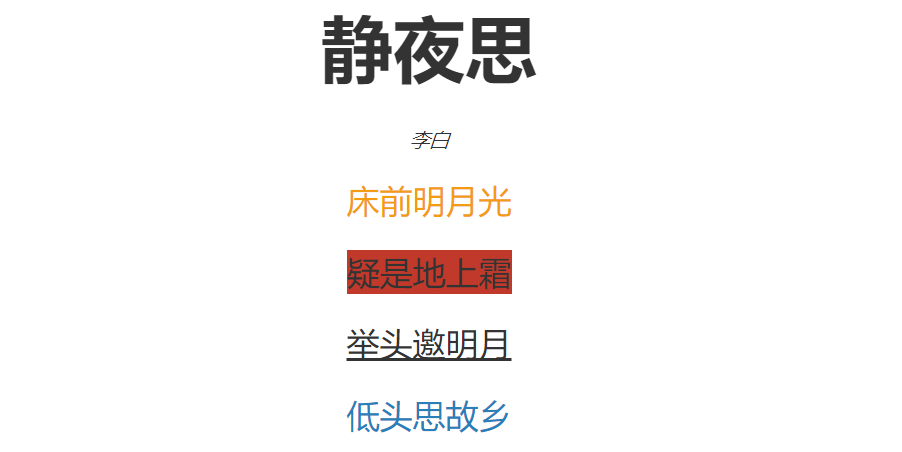
迫不及待吟诗一首:
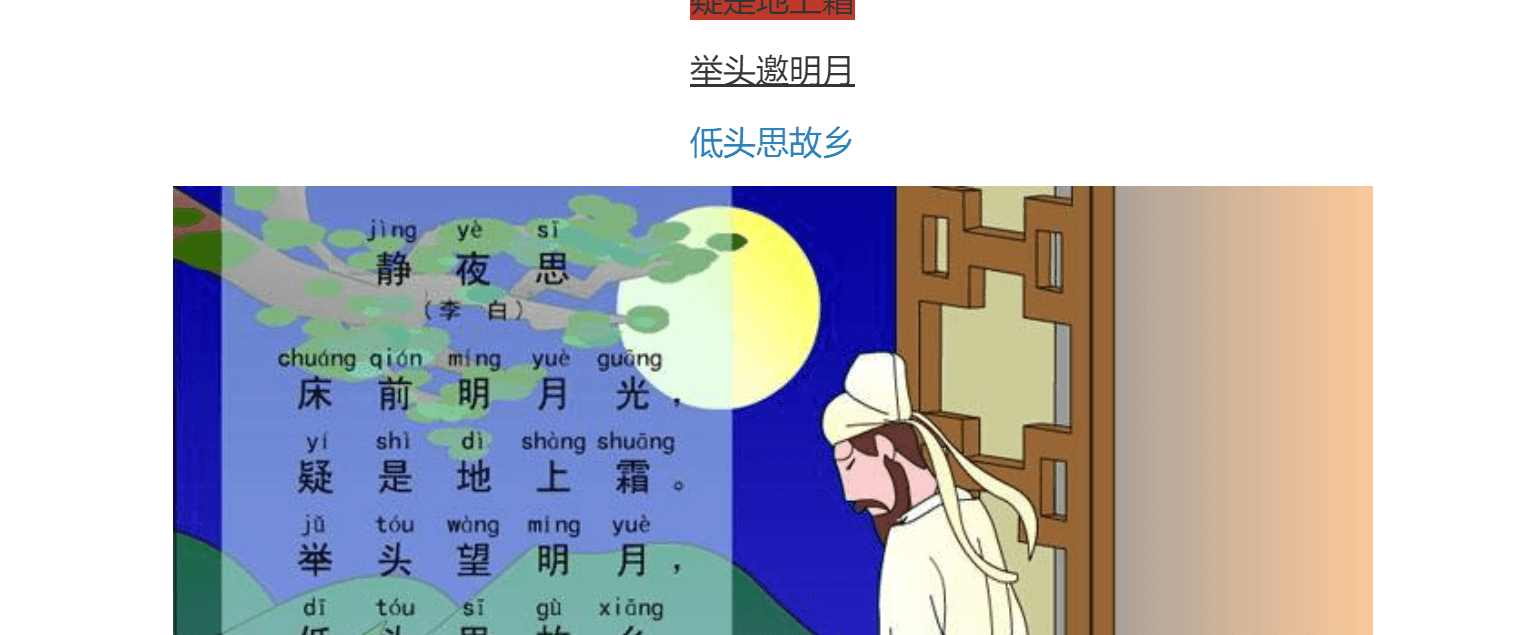
再插入一幅图:
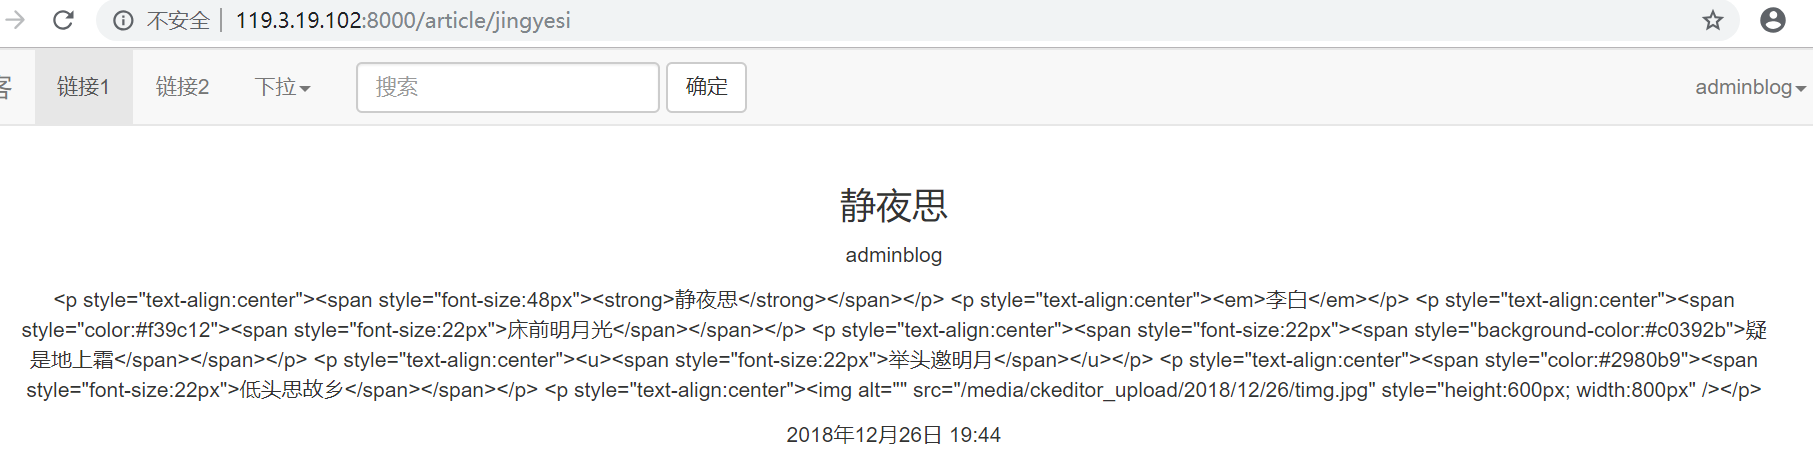
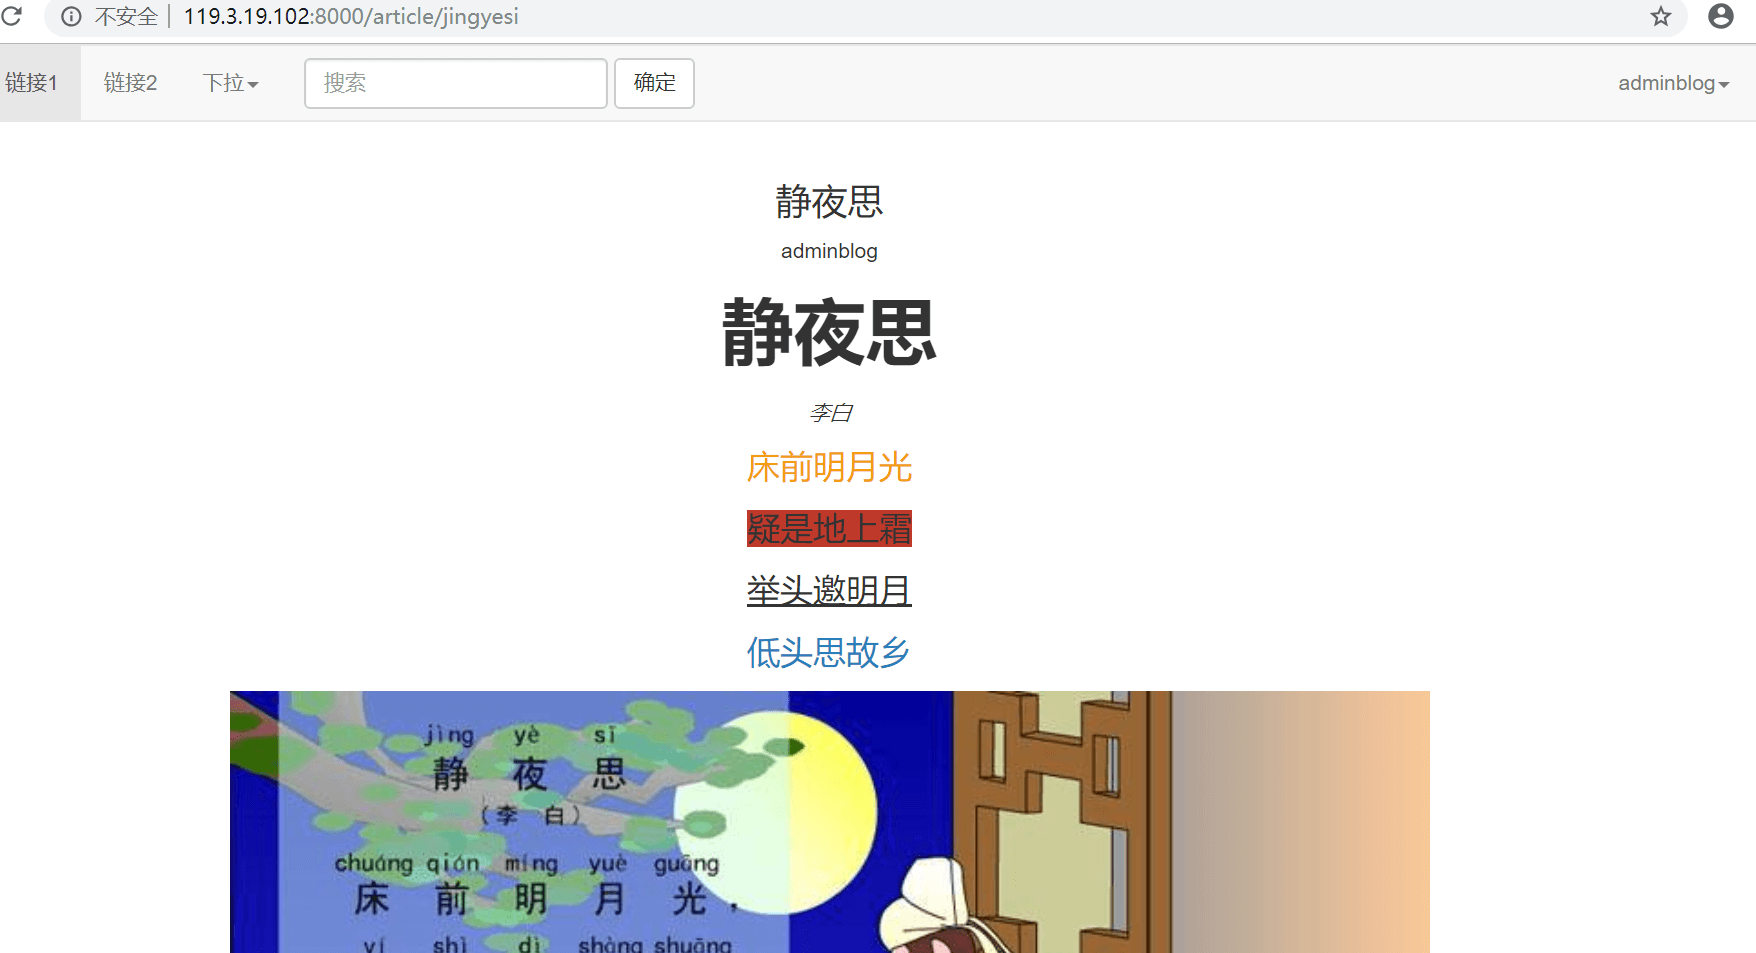
运行后打开发现,怎么是html格式的?没关系,将“{{article.body}}”修改为“{{article.body|safe}}”就完美解决!
7、添加代码段按钮
作为一个屌丝程序员,添加代码段的功能必不可少!Code Snippet 是CKEditor的一个扩展组件,非常好用,只需要将“codesnippet”添加到配置文件即可:
# ckeditor
CKEDITOR_CONFIGS = {
    'default': {
        'skin': 'moono-lisa',
        'toolbar_Basic': [
            ['Source', '-', 'Bold', 'Italic']
        ],
        'toolbar_Full': [
            [ 'Source','-','Save','NewPage','DocProps','Preview','Print','-','Templates' ],
            [ 'Cut','Copy','Paste','PasteText','PasteFromWord','-','Undo','Redo' ],

            [ 'Find','Replace','-','SelectAll','-','SpellChecker', 'Scayt' ],
            [ 'Form', 'Checkbox', 'Radio', 'TextField', 'Textarea', 'Select', 'Button', 'ImageButton', 'HiddenField' ],
            '/',
            [ 'Bold','Italic','Underline','Strike','Subscript','Superscript','-','RemoveFormat' ],
            [ 'NumberedList','BulletedList','-','Outdent','Indent','-','Blockquote','CreateDiv', '-','JustifyLeft','JustifyCenter','JustifyRight','JustifyBlock','-','BidiLtr','BidiRtl' ],
            [ 'Link','Unlink','Anchor' ],
            [ 'Image','Flash','Table','HorizontalRule','Smiley','SpecialChar','PageBreak','Iframe' ],
            '/',
            [ 'Styles','Format','Font','FontSize' ] ,
            [ 'TextColor','BGColor' ] ,
            [ 'Maximize', 'ShowBlocks','-','About' ] ,
            ['CodeSnippet'],  #代码段按钮

        ],
        'toolbar': 'Full',
        'extraPlugins': 'codesnippet',   #代码段插件
    }
}
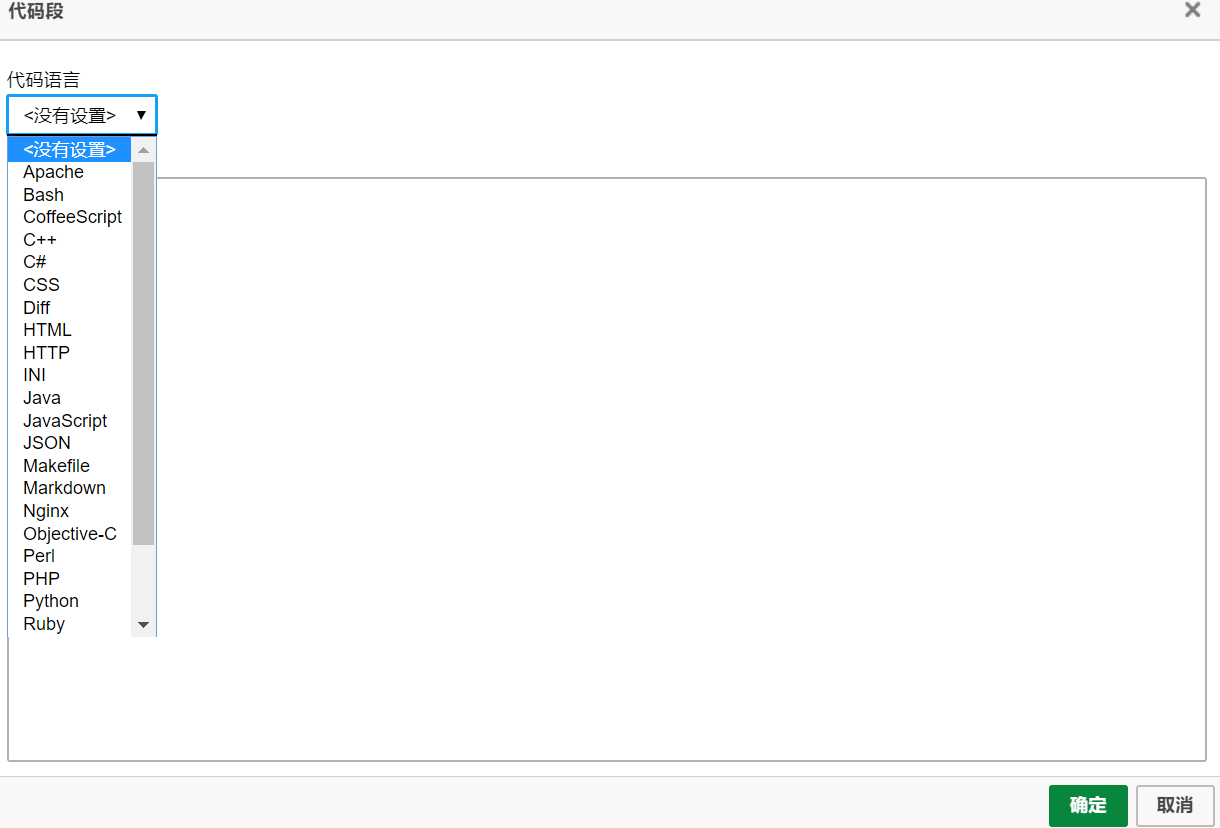
重新运行服务器,进入后台就可以看到添加代码的按钮了,还能选择语言,吊炸天!
到现在,我们就可以发布图文并茂有格式的文章了。下一篇再来给文章加个评论吧。
《django 建站历程系列文章》